top of page
Post Production
Pre-filming
Step 1: Ideation
Brainstorm for ideas with your team. Many heads are definitely better than one! You can also brainstorm by looking through videos that are similar to the concept you have in mind to gain some inspiration.
Come up with a rough overview of your ideal video (e.g. what are the overarching concepts and messages you would like to deliver?)
Step 2: Planning
Create a detailed storyboard showing each scene so that you and your cast (if any) will be clear of what you want to film. Do not underestimate the importance of a storyboard — storyboards allow you to visualise how your video will turn out and by putting it on paper, you can plan your video down to every frame and turn your imagination into reality! This will also help to save time during filming as everyone will have a clear idea of what needs to be done.
Make a detailed plan of how each part should be filmed to be more efficient (i.e. what angle, what type of shots) The more detailed it is, the easier it will be for you (and your crew) to film.
If you require actors for your video, try asking your friends for a favour. You never know — there could be aspiring actors among us too!
Example of a plan for a scene

Filming!
Step 1: Ensure that you have all your logistics and equipment ready
Remember to charge all your equipment (e.g. cameras, drones, etc.) the night before Film Day!
Don't worry if you don't have a professional camera, a phone camera will also do the trick. If you don't have a green screen, there is always the possibility of editing the video to your liking using the appropriate editing software (covered below). However do note that not everything can be left to the (limited) powers of editing so do film all that you can.
If you are using a phone, it is recommended to get a gimbal for steady footage.
If you are using a DSLR, a DSLR gimbal can set you back $400 and above, so only go for it if you are pursuing film making seriously
Step 2: Film!
Following your storyboard, recreate your video. Feel free to direct your actors so that they may portray your characters accurately.
Tip: Take multiple takes of each scene. These can prove to be useful as back-ups, should you detect any flaws in your first take.
After filming, make sure to check your footage immediately so that you can re-film on the spot (if necessary). This will come in handy when you realise that some clips can't be used during the editing process. This way, you won't have to make multiple trips to your filming location even if your budding clips turn out unsatisfactory!
Post-production/Editing
Step 1: Obtain your software
Our software recommendations: Adobe Premiere Pro, Adobe After Effects. OpenShot can be used if there's no reliance on Adobe software!
Note: Software downloaded from Adobe has a trial period of only 7 days! Make the moost out of your 7-day trial period by downloading right before your editing grind.
Step 2: Transfer all your clips from your camera to your computer
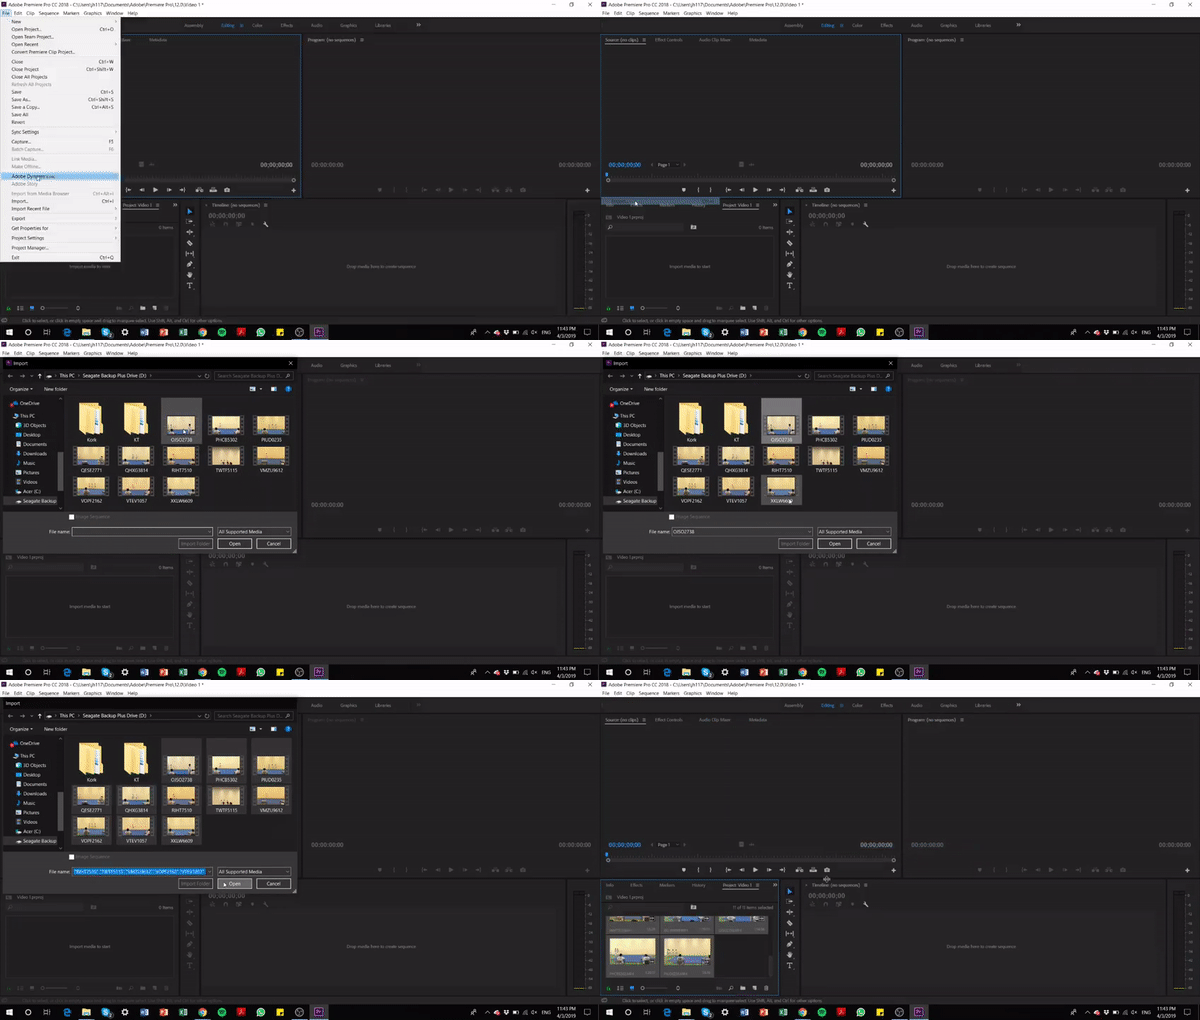
Step 3: Review your clips and select usable ones (e.g. clips that have better lighting, no one else in the background etc.)
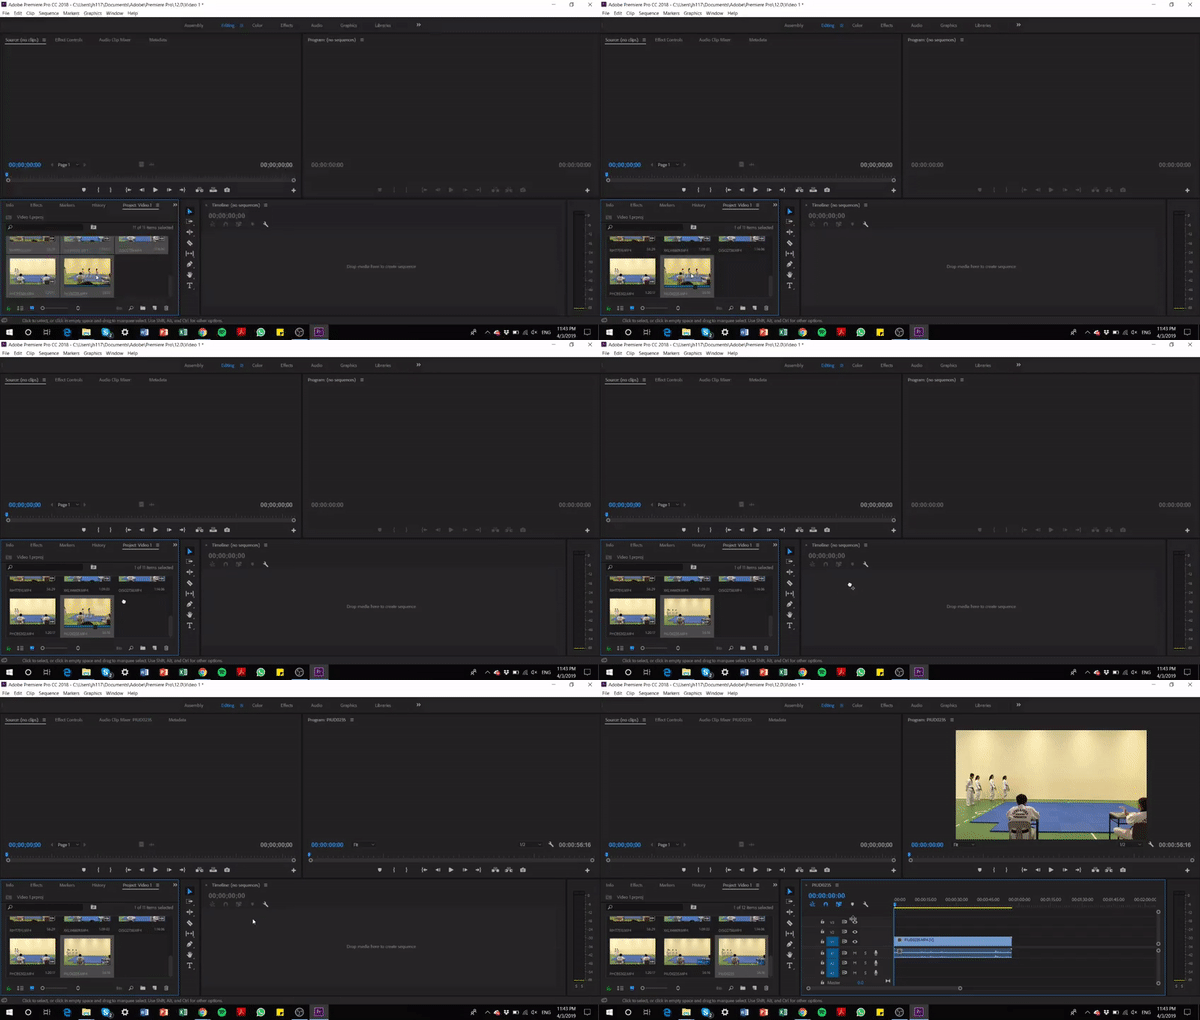
Step 4: Drag all the clips in
Tips:
Piece the entire video together before starting to edit the video.
Label the clips with different colours to differentiate the different scenes for easier management with larger projects.
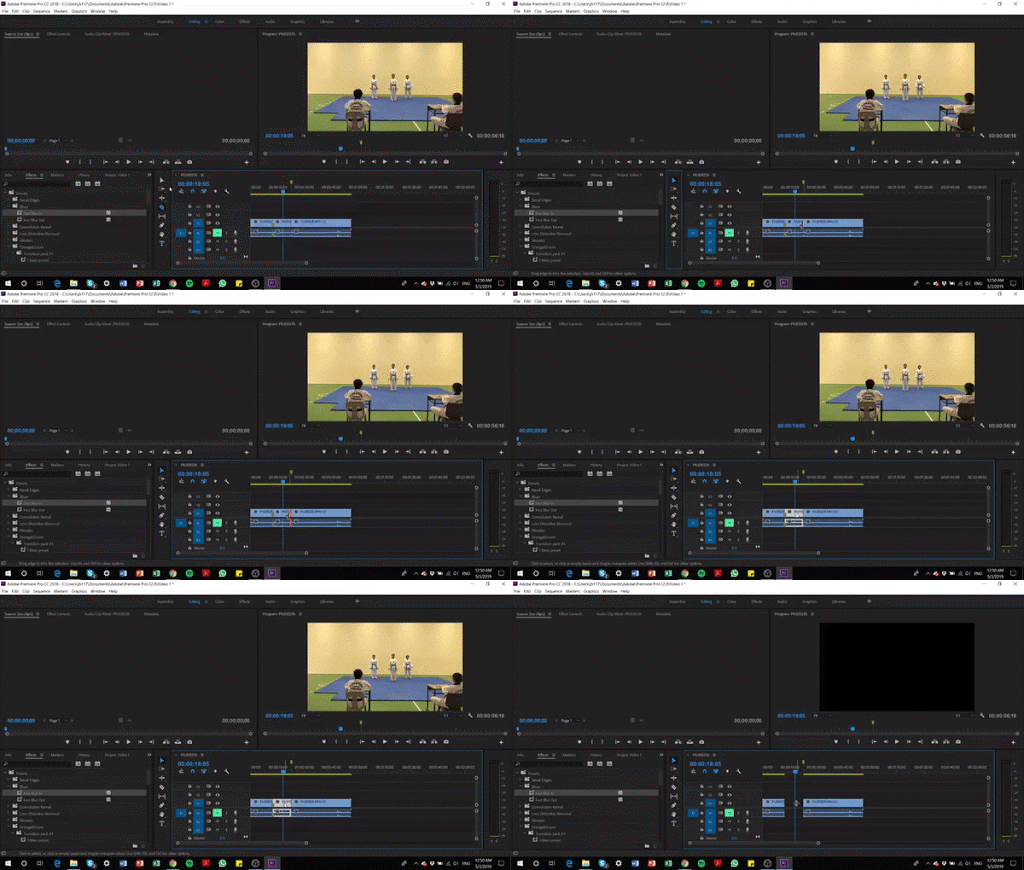
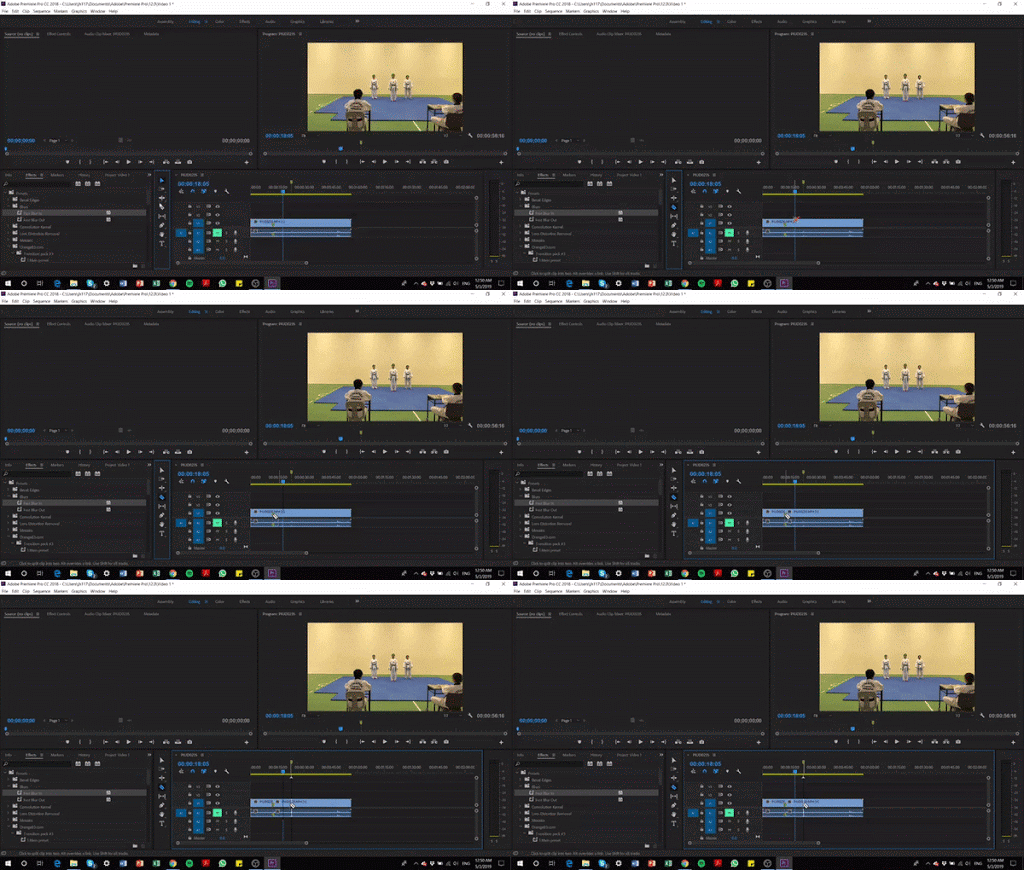
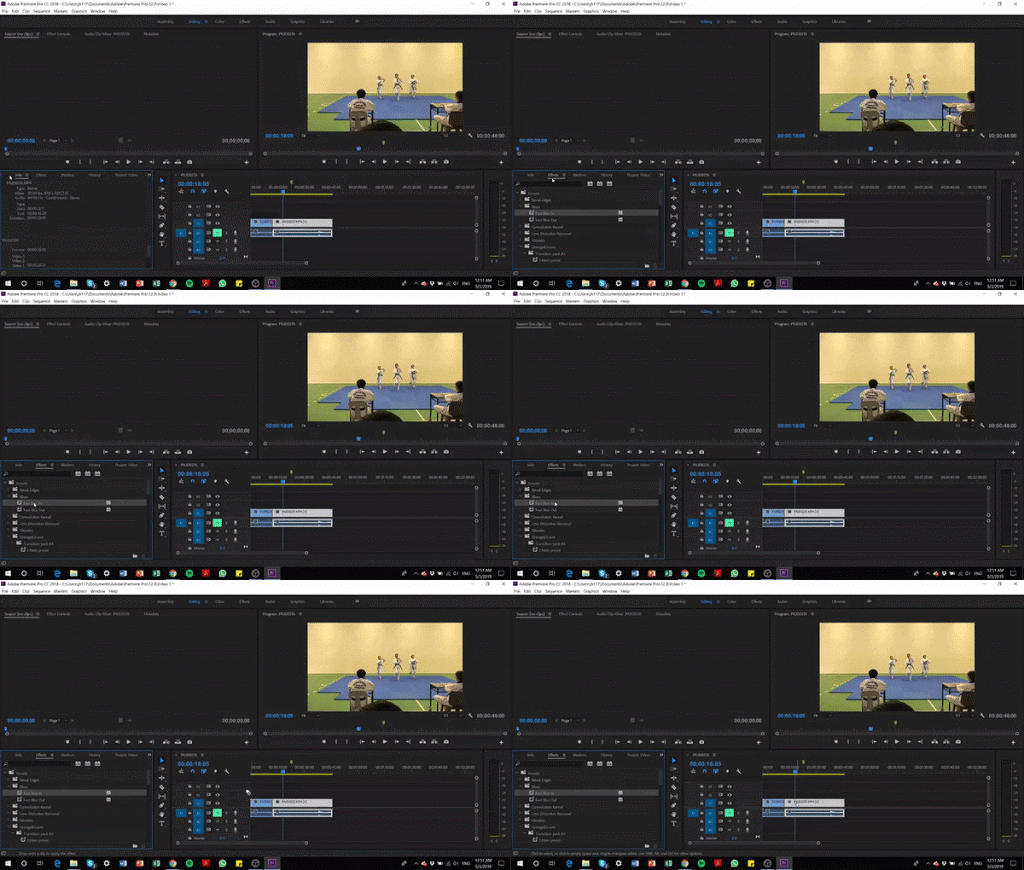
Step 5: Cut, piece and add in effects
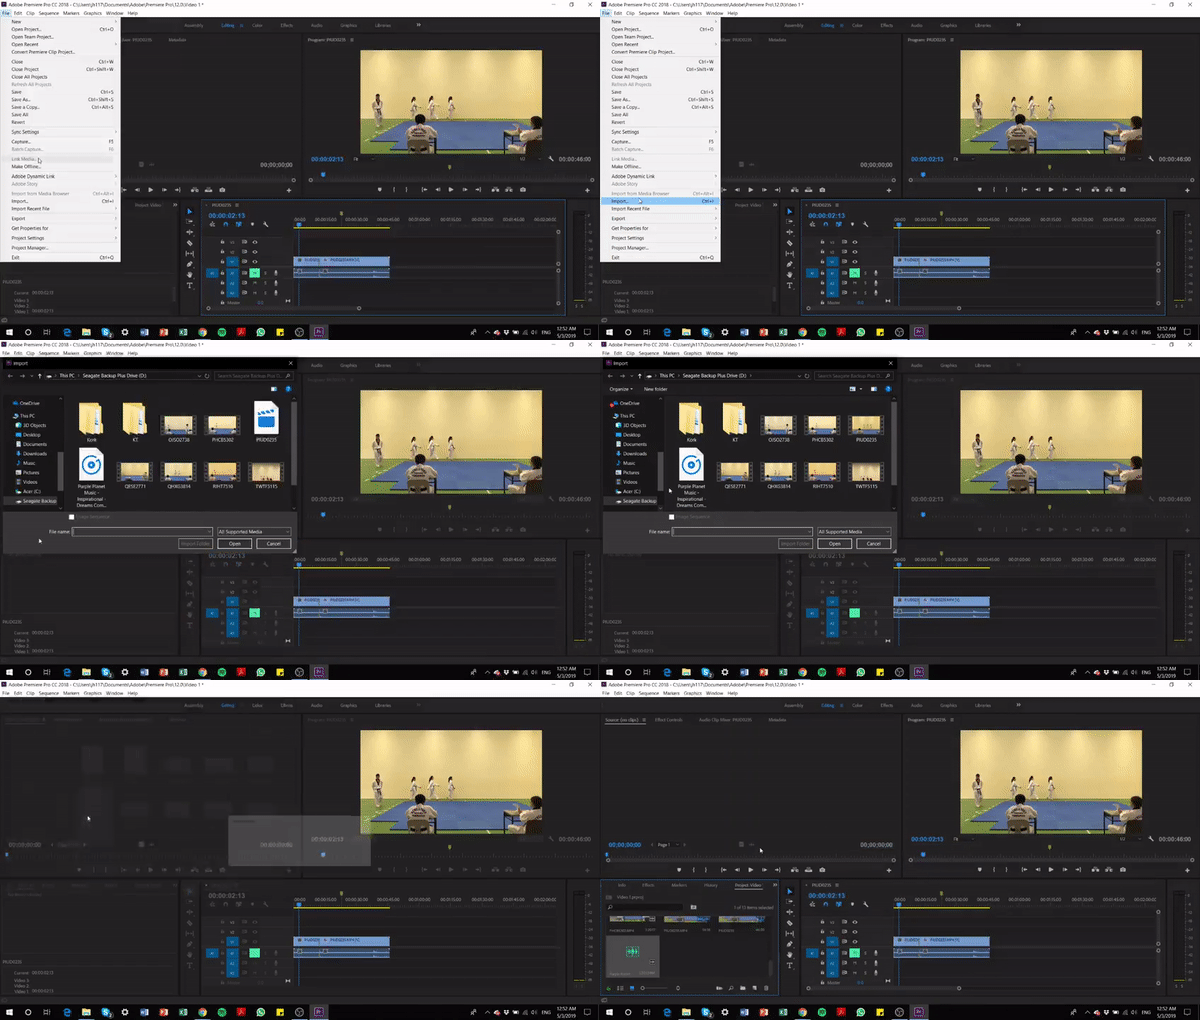
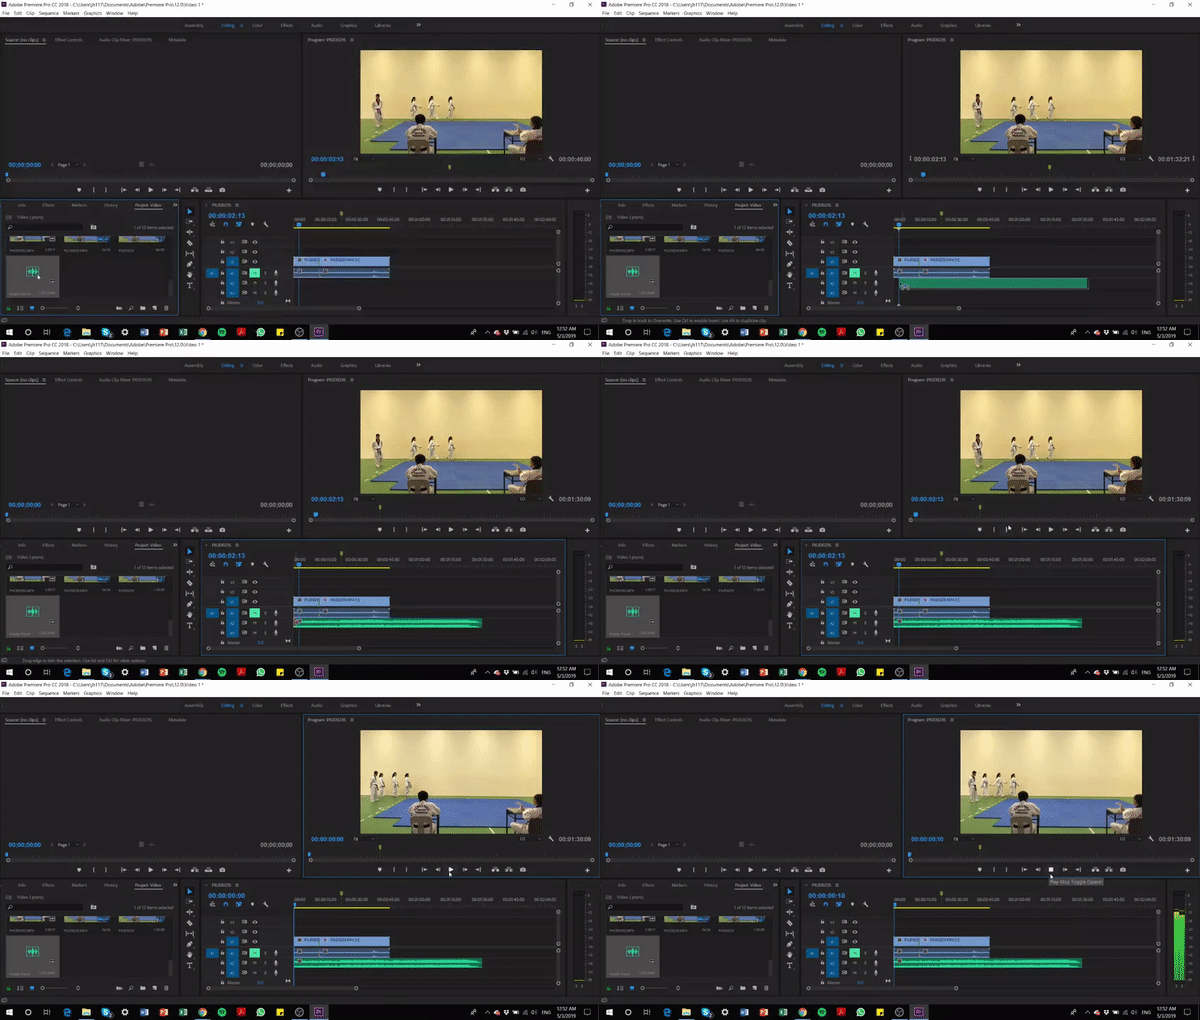


Step 6: Add audio
Sound can createcertain atmospheres/moods. It is thus important to choose suitable audio as it can make or break your video. Here are a few websites which offer royalty-free music:
Bensound, HookSounds, Purple Planet Music
Be sure to normalise the audio and ensure that all the loudness of all clips are consistent, and they are not peaking.
Audio level should not go above 0 (Into the Red Zone) Use Audio Transitions to fade in/out audio clips with greater smoothness


Step 7: Lastly, export your video and your video is good to go!
Recommended render settings for 1080p HD Internet uploads:

A good website to host your video files for preview will be streamable.com, alternatively you can always upload it to Google Drive (Use your school drive as it has unlimited storage!)
Inspiration:
-
Peter McKinnon (https://www.youtube.com/channel/UC3DkFux8Iv-aYnTRWzwaiBA)
-
Andrew James (https://www.youtube.com/channel/UCm_rkVN3wpsKMzOtEpJb8RQ)
-
Sam Kolder (https://www.youtube.com/channel/UC_tXKhJlqZrgr_qdhEKmrDQ)
-
Benn TK (https://www.youtube.com/channel/UCDRqoPBHJ7oFcxqvyPBAg6A)
Tutorials:
bottom of page